Homemade Pine Sol
Have you ever wished for a cleaning solution that’s both effective and budget-friendly? Look no further! Today, we’re diving into the world of DIY with a recipe for homemade Pine Sol.
This all-natural cleaner is perfect for freshening up your kitchen, wiping down countertops, and tackling grime throughout your home—all without the harsh chemicals or needing to spend money on a store-bought alternative.
Plus, it smells amazing! Whether you’re a seasoned DIY enthusiast or just curious about making your own cleaning products, this recipe is easy to follow and guaranteed to become a staple in your cleaning routine. Let’s get started!

Why you’ll love this diy pine sol
Making your own Pine Sol at home isn’t just satisfying; it’s a game-changer for your cleaning routine. Here’s why this recipe will quickly become your go-to for sparkling, fresh-smelling surfaces:
Budget-friendly: Store-bought cleaners can add up fast, but this DIY Pine Sol costs a fraction of the price. With just two cheap ingredients, you can make a big batch that lasts for weeks.
All-natural and non-toxic: Say goodbye to harsh chemicals! This homemade version is made with simple, natural ingredients.
Customizable scent: Love the crisp, fresh smell of pine? This recipe gives you that classic scent, but you can also tweak it with other essential oils like lemon or lavender for a personalized touch.
Once you try it, you’ll wonder why you didn’t make it sooner.
Pine sol ingredients and equipment
Making your own homemade Pine Sol is simple and requires just a few ingredients and basic supplies. Each ingredient has a purpose, working together to create an effective and natural cleaning solution. Here’s what you’ll need:
Ingredients:
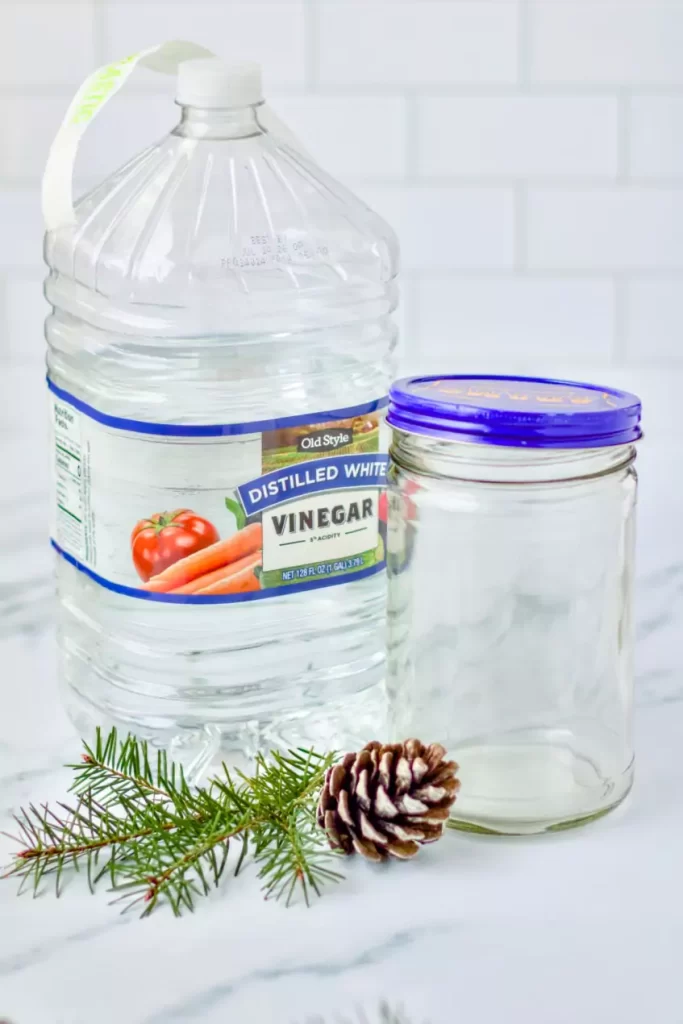
- Pine sprigs – These are the star of the show! Pine sprigs provide that fresh, woodsy scent you know and love, while also lending mild antibacterial properties to your cleaner. Make sure they’re clean before using.
- White distilled vinegar – Vinegar is a powerhouse natural cleaner that helps cut through grease, grime, and soap scum. It’s also a natural disinfectant, making it a key component of this homemade cleaner.
Equipment:
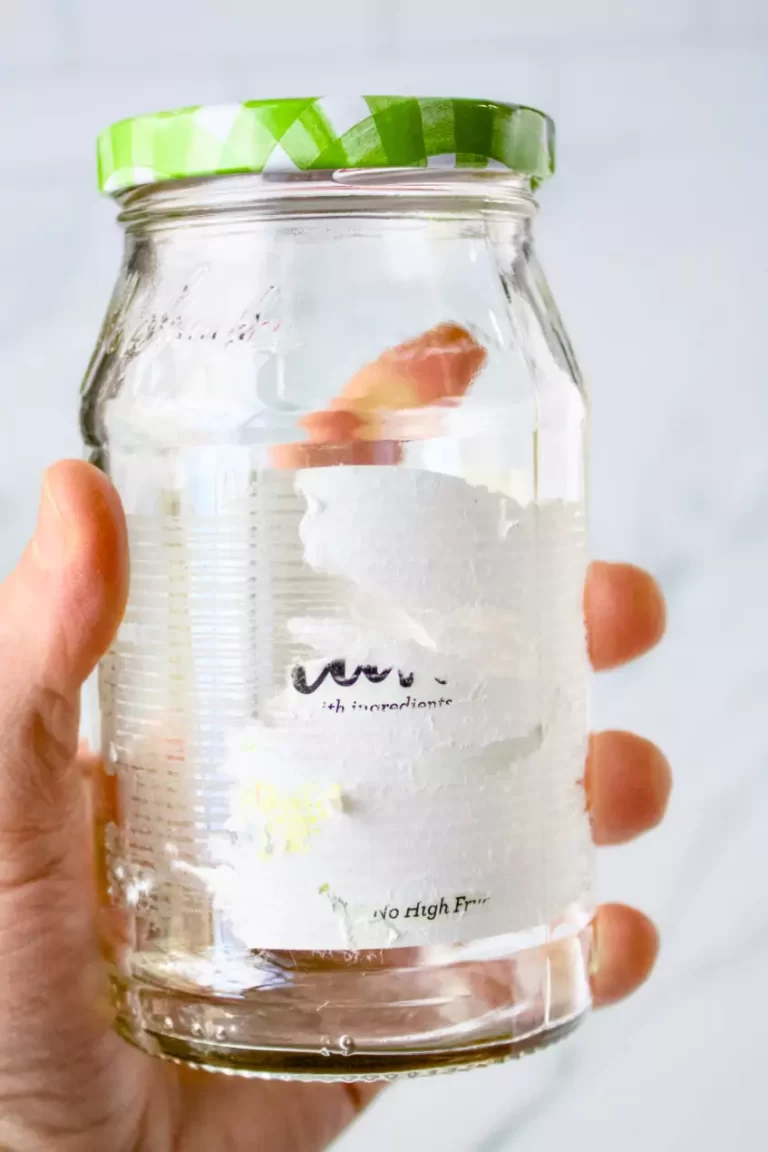
- Jar with a lid – A glass jar is perfect for steeping the pine sprigs and vinegar together. The lid ensures the mixture stays sealed and doesn’t lose its effectiveness while infusing.
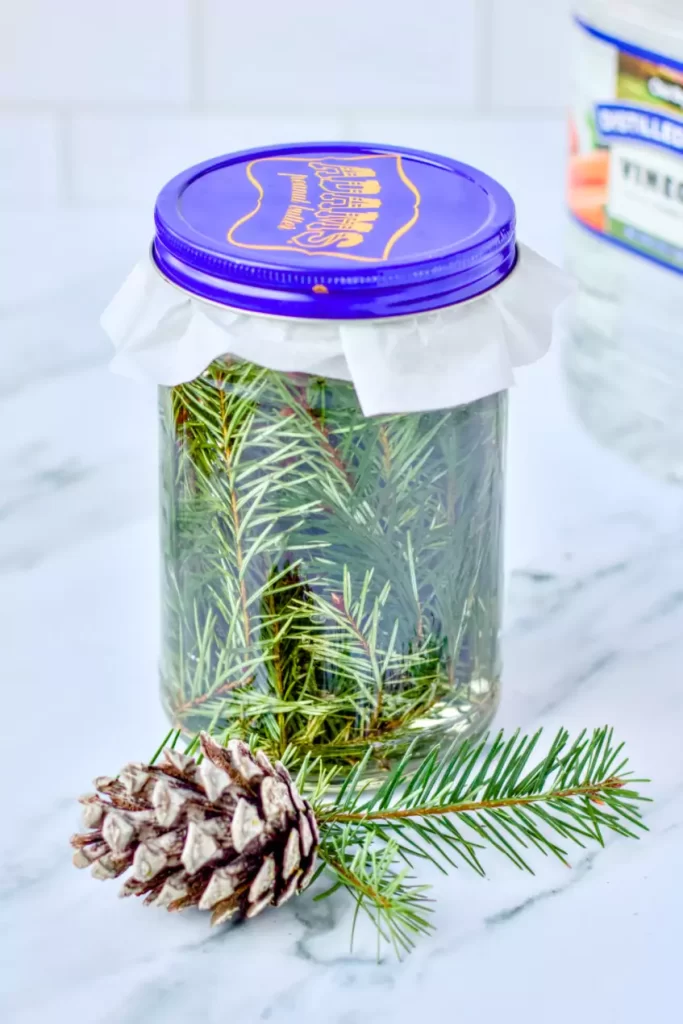
- Parchment paper – Place a small square of parchment paper between the lid and jar to prevent the vinegar from causing rust. It’s a simple but important step to keep your cleaner fresh and your jar reusable.
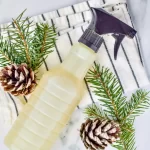
- Empty spray bottle – Once your Pine Sol is ready, you’ll transfer it into a spray bottle for easy use. A spray bottle makes it convenient to spritz the cleaner directly onto surfaces for quick and effective cleaning.
With these ingredients and tools, you’ll be ready to whip up a batch of homemade Pine Sol in no time!
How to make a homemade pine cleaning solution
Making your own pine cleaning solution is easier than you might think! With just a few simple ingredients, you can create an all-natural, budget-friendly cleaner that leaves your home smelling fresh and clean.
Here’s how to do it:
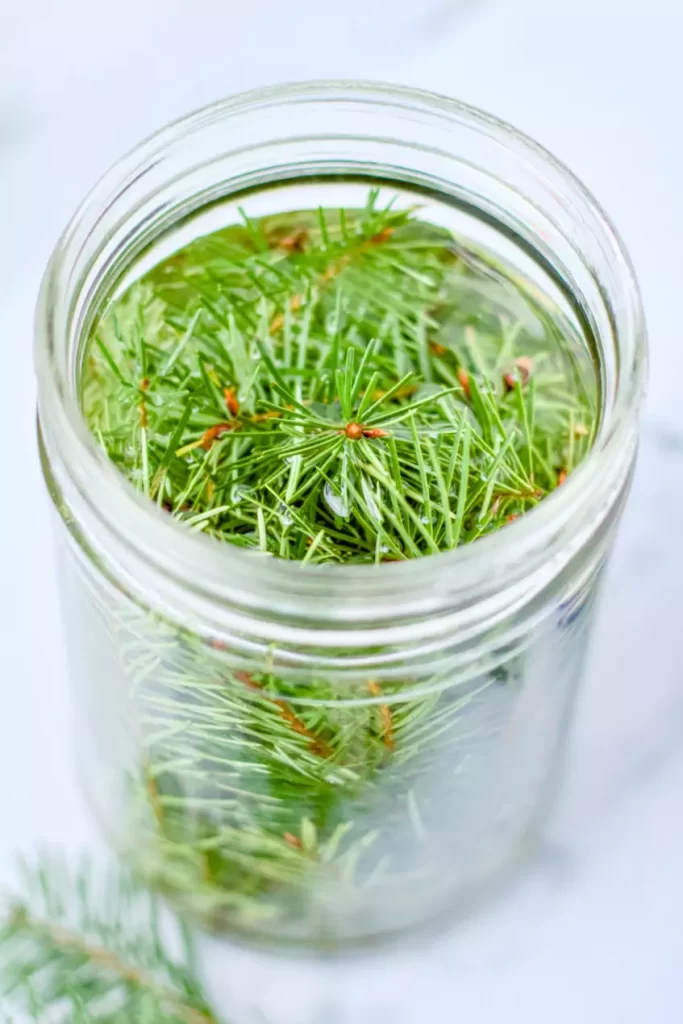
- Prepare the pine needles. Rinse the pine needles or sprigs under cool water to remove any dirt or debris.
- Fill the jar with pine and vinegar. Place the pine needles into your glass jar, filling the jar. Pour white vinegar over the pine needles until the jar is almost full, leaving a little room at the top.
- Seal and steep the mixture. Secure the lid on the jar tightly. Let the jar sit in a cool, dark place for about 2–3 weeks to allow the pine oils to infuse into the vinegar.
- Strain the solution. After steeping, use a fine mesh strainer to remove the pine needles from the liquid. Pour the strained solution into a clean container or directly into your spray bottle.
- Dilute with water. For everyday cleaning, mix 1 part of the pine-infused vinegar with 1 part water in your spray bottle. Shake well before using.
- Label and store. Label your spray bottle with the contents and date. Store your pine cleaning solution in a cool, dark place for up to 6 months.
Now you’re ready to tackle messes with your homemade pine cleaning solution! Use it on countertops, sinks, floors, or anywhere you’d like a fresh, pine-scented clean.
Tips
Before you dive into making your own homemade Pine Sol, a little preparation goes a long way in ensuring your cleaning solution turns out perfectly.
These tips will help you get the most out of your ingredients and create a cleaner that’s effective, fresh, and safe to use around your home.
- Thoroughly clean your storage container. Whether you’re using a spray bottle or a mason jar, ensure it’s squeaky clean and dry before filling it with your solution. This prevents contamination and helps your cleaner last longer.
- Label your bottle. Once you’ve made your Pine Sol, clearly label the container with its name and the date it was made. This is especially helpful if you’re storing multiple homemade cleaners.
- Shake before each use. Homemade cleaners can separate over time, so give your bottle a quick shake before using to mix the oils and other ingredients back together. This ensures even distribution and optimal cleaning power every time.
With these tips in mind, you’ll be all set to whip up a batch of homemade Pine Sol that smells amazing and leaves your home sparkling clean!

Conclusion
Making your own homemade Pine Sol is not only a fun and easy project, but it’s also a fantastic way to keep your home clean and fresh while avoiding harsh chemicals. With just a few simple ingredients, you can create a natural cleaning solution that smells amazing, works effectively, and is super cheap.
Whether you’re wiping down countertops, mopping floors, or freshening up your bathroom, this DIY cleaner gets the job done without compromise. Plus, knowing exactly what’s in your cleaner means you can feel confident using it around your family and pets.
So, go ahead and give it a try! Your home will thank you, your wallet will thank you, and you’ll feel good knowing you’ve taken another step toward a greener, healthier lifestyle. Happy cleaning!
Equipment
- glass jar with lid
- parchment paper
- mesh strainer
- empty spray bottle
Materials
- pine sprigs
- white distilled vinegar
Instructions
- Rinse the pine needles or sprigs under cool water to remove any dirt or debris. Place on a towel to dry slightly.pine sprigs
- Place the clean pine sprigs into your glass jar, filling it. Pour white distilled vinegar over the pine needles until the jar is almost full, but leave a little room at the top.white distilled vinegar
- Cut a parchment round that is about 1" – 2" wider than the jar's lid.
- With the parchment round between the jar and the lid, secure the lid on the jar tightly.
- Let the jar sit in a cool, dark place for about 2–3 weeks to allow the pine oils to infuse into the vinegar.
- After steeping for 2-3 weeks, use a fine mesh strainer to remove the pine needles from the liquid. Pour the strained solution into a clean container or directly into your spray bottle.
- For everyday cleaning, mix 1 part of the pine-infused vinegar with 1 part water in your spray bottle. Shake well before using.